Imagine how exciting it is to create your own ribbon, to match your projects. And one of the greatest ways to achieve a beautiful rolled edge using your Serger set for a 2 thread serge.
Some ribbons were decoratively stitched using 40wt rayon thread, and this thread was also used for the two thread serging.
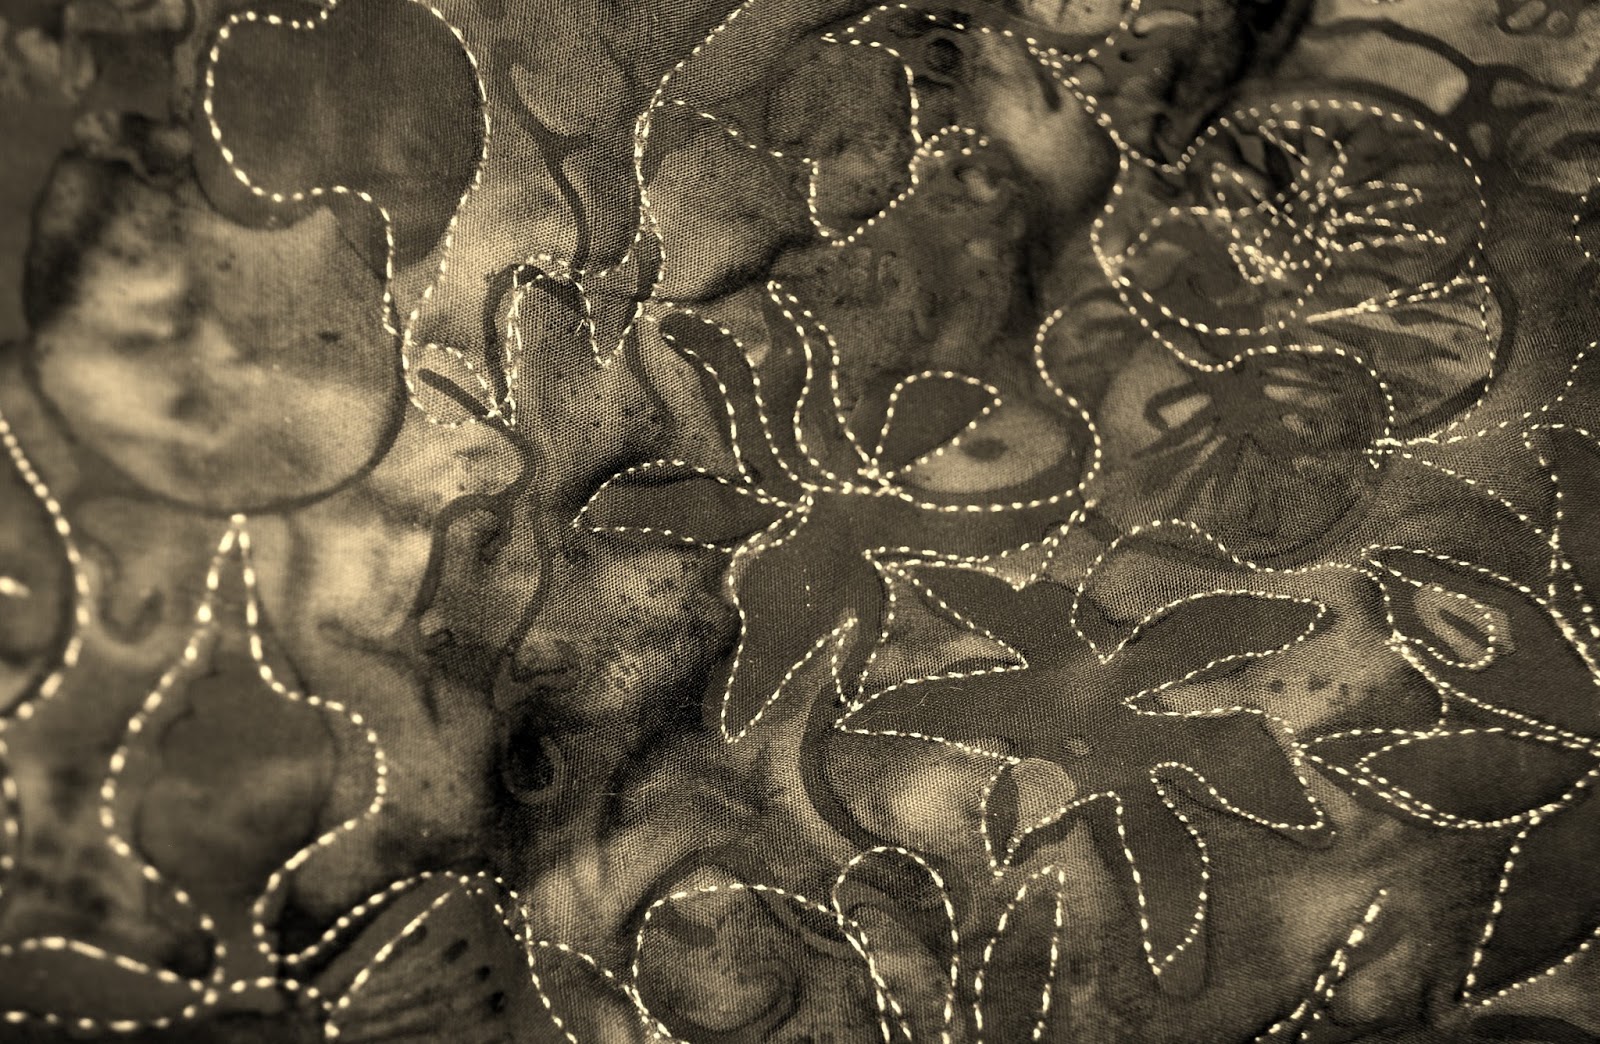
Metallic thread has also been used for decorative work, as well as cotton threads.
Polyester thread is wonderful for decorative stitching on organza as well as two thread serging, matched to your fabric.
Now take these ribbons, rinse away stabilizer, hang dry. You have beautiful flat ribbons to work with.
Making Gathered Ribbon
- Decide on the width of your fabric strips and cut. Allow a little extra to trim away edges later
- Cut strips of Inspira Dissolve-away Plus or Inspira Dissolve away Max and place on wrong side of strip. It is basically underneath your fabric as you are decoratively stitching the right side of your fabric
- When complete rinse away your stabilizer, and let your ribbons dry after stitching
- Using a 2 thread Rolled Hem on your serger, finish one edge of your new ribbon
- On the other edge of your ribbon, use a 4 thread serged edge, and adjust your differential feed to 2.0
- Adjust your stitch length to a longer length if you prefer. This will add more gather to your ribbon. Insert ribbon strips between seams or topstitch your ribbon onto your project
- Remember, there are wonderful Serger feet like the gathering foot, and the corded wavy edge foot for beautiful rolled edges. Decoratively stitched ribbon with wavy edges sounds very appealing for all projects.
Then cut your fabric strips to desired ribbon widths. Rinse away stabilizer and proceed to your serger with all of the same steps as outlined above.
Clips that are used for holding bindings in place are also great for using on your fabric when serging edges. They hold stabilizers and fabric together, as well as seams eliminating the need for any pins.
Machine Embroidered Ribbon
Many of these stitches in this photo can be brought from sewing mode into embroidery mode and embroidered in very nice straight lines with your endless embroidery hoop, using the same stabilizer. Simply cut them into strips when embroidery is complete. You have Quilting, Heirloom, kids stitches and so many more. Program or design your very own stitches, or sequence of stitches. This really has endless possibilities. If you have the opportunity to shape them in straight lines or curves. Create your own stitches in Embroidery Software. It is an endless list.